Stuck Pentax Lens

July 3rd, 2008 started out like any other day. Getting an early start to the holiday weekend, I spent the day doing some delayed Spring Cleaning, during which I came across a stash of lenses for my old Pentax ME Super, which had served me so well for over twenty years, starting in 1983.
Knowing (so I thought) that my istDS could use all of my old lenses, I started to try them out. Oops. I became another victim of the infamous Stuck Pentax Lens. Of course, at the time I had no idea what was going on. My reaction was pretty much “WTF?!!?”, followed by “SH*T!!, now what do I do???”. Thankfully, Google is my friend - and I quickly found out I wasn’t alone. A fellow who goes by the name “SelrahCharleS” posted a pretty good description of what happened, along with photos showing the cause of the problem.
Armed with this knowledge, I resolved NOT to fall to my first instinct and go the route at least one other victim went. To be fair - Kaan DID provide me with some inspiration as to what route to take. (Somewhat humorous aside - From Kaan’s photos, it looks like he, too, stuck a 28mm Albinar macro lens onto his Pentax DSLR, and SelrahCharleS apparently owns one of these also.)
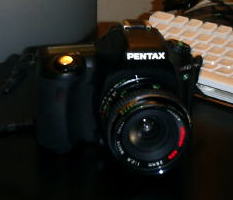
Here it is - what I was facing at 8pm on July 3rd. A twenty five year old Albinar 28mm macro lens stuck on my Pentax istDS. Oh, the humanity...and the blood pressure...
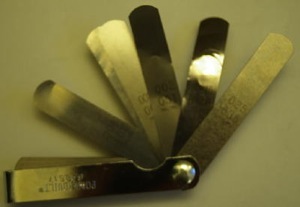
My first attempt was to use the recommended “feeler gauge fix”. So - after a quick trip to the local Kragen Auto Parts store for a $5.99 set of feeler gauges, I was all set...for disappointment. What a crock. All I ended up with were a bunch of dinged up feeler gauges. This did, however, let me know how much clearance there was between the lens and camera body - 0.005”.
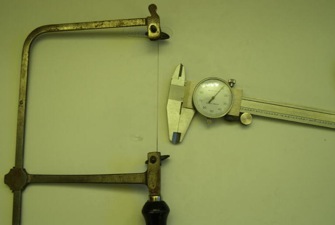
No problem, I thought - I’ve got an old jeweler’s saw - I’ll try that. But - no such luck - it may be thin, but not thin enough. It clocked in at 0.009”.
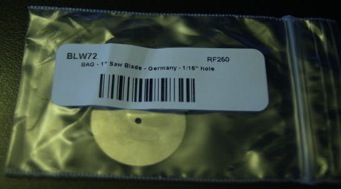
So - next stop - the IntarWeb. Thanks, once again, to Google, I came across just what I was looking for - a really thin rotary sawblade from Widget Supply:
“Bulk Packaged 1 inch Very fine Cut (.004 Kerf) Stainless Steel Saw Blade, with approx. 122 teeth. Use with 1/16 inch Screw Mandrel which is not included. For use with Dremel Rotary Tools. Made in Germany.”
Kerf? - What does Kerf mean?!!?. Thankfully, the IntarWeb came to the rescue again:
Less than a week later - O, Joyous Day...a package from Widget Supply arrived in the mail.
And there it is - a really thin sawblade!
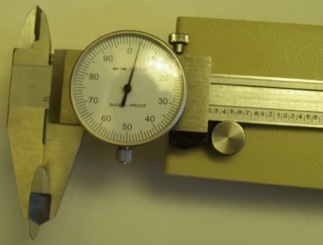
Mr. Caliper verified that it was right around 0.004” - and well below the 0.005” threshold.
Now we’re all set. One other benefit of the unsuccessful feeler gauges - they allowed me to determine where, exactly, the offending pin was located - forever memorialized now by a silver Sharpie mark on my camera. I think I’ll leave it there - just in case I need a reminder about this in the future...
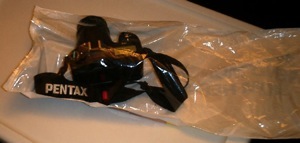
Next stop - Pre-Op prep work. And the winner for the most creative use of a newspaper delivery bag goes to...me.
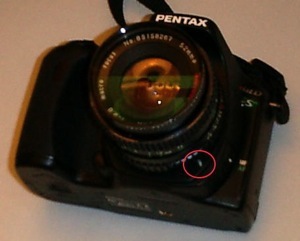
Not quite ready yet - gotta slice open the bag and decide how to mask off the operating area - masking tape, or clear packing tape? In the end, I selected the clear tape - for its greater adhesive qualities.
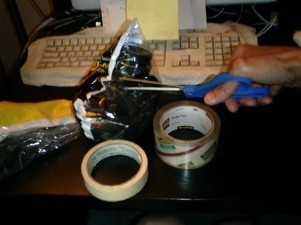
Here we are - all masked off and ready for cutting. I wish I could get a closer shot of this - if only I had a macro lens...Oh wait, I do - but it’s friggin’ stuck halfway mounted to my camera...
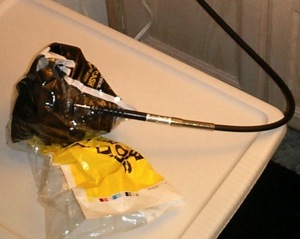
The moment of dread. I’ve owned my Dremel Tool for around 15 years. I’ve owned Pentax cameras for around 25 years. Never did I imagine that I would ever voluntarily use the one on the other...
SUCCESS! After about 2 seconds of sawing, the lens just started rotating freely. Post-Op examination of the pin reveals that it most likely is made of brass, and was just no match for that German Steel sawblade.
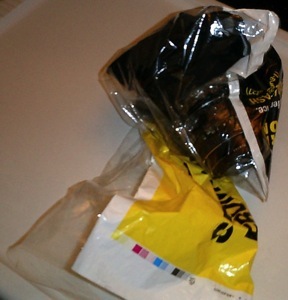
Feeler Gauges: $6.44
Really thin rotary sawblade: $4.66
Not destroying the lens or camera, and being able to take macro photos: priceless...
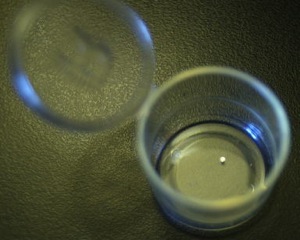
These two pictures were taken within a few minutes of successfully completing the camera surgery - I just had to see if the camera survived the ordeal - it did.
And a note to anyone who decides to go the route I did - you must ABSOLUTELY, POSITIVELY, NO-SH*T, I’M NOT KIDDING, put the AF/MF switch in the MF position.
If you leave it in the AF position, the little AF post will be all set to raise up once the offending pin is gone - right into your whirling Dremel sawblade of death.
If you do this - No Autofocus For You...All Your Autofocus Are Belong To US...you get the idea...


Acknowledgements
First off - my thanks to Kaan Erdener. My initial instinct was to do exactly what he did. After reading his blog, he did get me thinking about saws, and the importance of sealing the camera inside a plastic bag during the, ahem, procedure.
Even though it didn’t work, my thanks to whoever came up with the “feeler gauge fix”. This got me thinking that there IS a way to reach the pin, if only I had something serrated and thin enough.
Thanks to Widget Supply - when I needed a really thin saw, they came through, at a very reasonable price, and with fast service.
And most of all - thanks to Google. Without them, I would probably have ended up going a much more expensive route to fix this.
